


19 Feb Helping Your Child Floss: Start Early To Build Healthy Habits For Life
Teaching young children to floss can be tough. Here are some tips to make the process a little easier.
Teaching our little ones to floss takes time, a little dental floss, and a whole lot of patience.It’s important to start helping your child floss as soon as their baby teeth come in and the edges touch (usually between 2 or 3 years old). Yes, baby teeth need to be flossed, too! They may fall out in a couple of years, but they are still crucial to your child’s oral and speech development.
Establishing this healthy habit now, while they are young, will help make it a permanent habit as they grow. Also, having your child watch as you brush and floss daily helps them understand that it’s important regardless of age.
Choosing the Right Floss
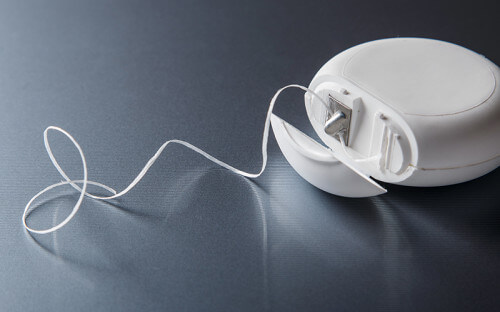
When it comes to selecting a flossing method, there are many on the market. It all depends on your child and their unique dental needs. Some children prefer unflavored dental floss, while others prefer mint or cinnamon. Waxed, unwaxed, and even pre-threaded flossers can all help your child succeed when it comes to flossing on their own. Pre-threaded flossers are helpful for younger hands because they must hold onto the handle and move the flosser between their teeth. There may be a bit of trial and error before you find the method that’s best for your child.
How to Floss
When it comes to little hands, there are a couple of techniques to make learning to floss simpler:

The Finger-Wrap Method – using a piece of floss about 18 inches long, gently wrap the ends around each index or middle finger. Make sure your child gently wraps the floss around their fingers, we don’t want to see their little fingers turn blue! Show your child how to carefully wriggle the floss between two teeth and form a “C” shape around the neck of the tooth. Be sure to rewrap the floss with a new section for each tooth, so you don’t spread periodontal bacteria from spot to spot.
The Loop or Circle Method – This technique is helpful for smaller hands and eliminates the possibility of cutting off circulation to fingers from wrapping the floss too tightly. Tie a knot in a piece of floss about 18 inches long, making a circle. Hold the floss with all the fingers, except the thumb. To floss your top teeth, use your thumbs to guide the floss. Use your index fingers to guide the floss through your bottom teeth. Make sure you move the floss to a clean spot before you floss the next teeth.
If your child’s gums bleed at first, don’t worry! After a few days, the bleeding should stop as the gums become healthier. If it doesn’t, call your child’s dentist to set up an exam.
Children usually need help with flossing until they are about ten years old. By teaching your child how to floss at an early age and showing them the proper techniques now, you can help them prevent tooth decay and periodontal disease later in life.
Sorry, the comment form is closed at this time.